
How to Make Almond Milk, Cashew Milk, & Oat Milk 🍼
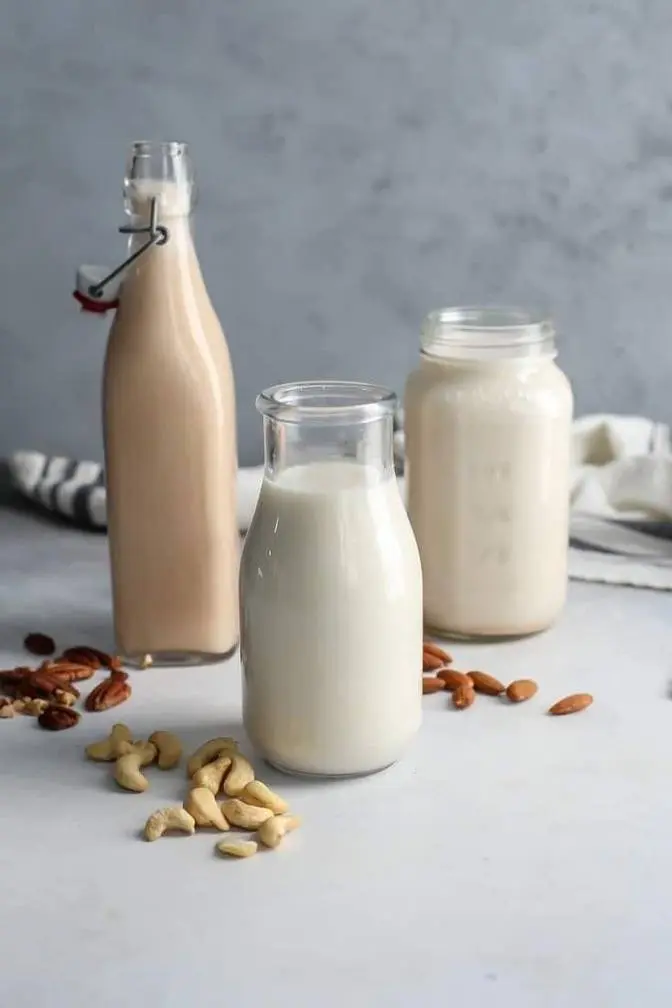
Hi everyone! I recently learned how to make non-dairy milk so I am so excited to share this
with you so that you can make it too! And this way you know what you are putting into your body
and what you're paying for.
Hi everyone! Welcome back to my channel and happy new year! It's 2020 and I thought I would share
with you something a little different on my channel. Today I'm going to be showing you how
to make your own non-dairy milk. I prefer non-dairy milk because I'm lactose intolerant
and milk gives me a huge stomach ache. Non-dairy milk is actually quite easy to make and I prefer
it because when you buy store-bought almond milk or cashew milk, you're actually getting
predominantly water with a tiny bit of nuts. So you're paying four or five dollars for water.
Today I'm going to start off by showing you how to make cashew milk, then almond milk,
and then oat milk. Let's go! First you are going to grab three separate bowls and pour one cup of
almonds, one cup of cashews, and one cup of oats into your bowls. Almond milk is probably one of
the most popular non-dairy milks out there. You want to start off by soaking your cashews, almonds,
and oats overnight and if you cannot soak them overnight because of time, go ahead and pour hot
water into the bowl for two hours and they should be good to go. They should be soft enough for you
to blend it but I do recommend doing it overnight if you can. So this is just cold water and they
will be soaking for about 12 to 15 hours and then we're going to empty out the water so it's not
like you're going to be drinking this. I'm so excited that I know how to make my own non-dairy
milk now because honestly the store-bought ones totally bamboozle us. Next you are going to need
either a milk bag or a cheesecloth. I went with a cheesecloth because it was two dollars at Target
while a milk bag was nine dollars and so I thought it's the same thing. We're gonna do it.
All right we're going to need some tunes because this next step is going to take a little bit of
time. Some people skip this step and they blend the almonds with the shell on it but I do find
that you get a creamier consistency when you de-shell all of them so that's what we're going
to do. This whole process of de-shelling one cup of almonds probably took me about 10 minutes and
so for me to just listen to music and de-shell all of these almonds went by pretty quickly.
They pop out pretty easily so it's not like you're struggling to take it off.
Next comes the blending part so I'm going to start off with my cashew milk.
So I'm going to empty out all the water that we used to soak overnight and then I'm just going to
pour all of the cashews into my blender. Then you want to get a cup and you want to add five cups
of water. If you want a thicker cashew milk you can add four cups or if you want a more liquidy
one you can add six cups. You want to blend it on high to make sure that it crushes all of the
cashews up. Then we're going to add some dates and then some ground cinnamon as well. You can
also add vanilla extract to make vanilla cashew milk but I decided to just go with these two.
So I'm just going to add three dates to my blender and then the ground cinnamon. You
could have added all of this before blending but I decided to do it in the middle of it.
Alrighty next you're going to grab a bowl and then use a strainer and then get the cheesecloth.
I'm going to cut the cheesecloth so that I can save portions of it for all of the other
non-dairy milks and it'll just make my life so much easier. Once you have everything set up
you're going to pour the cashew milk through the cheesecloth and the strainer to make sure that
there are no tiny bits in your cashew milk and that you have a nice light cashew milk.
Then I pour it into a reusable jar and it can last in the fridge for three to four days.
Next is almond milk. Did you know that the store-bought almond milk contains about 2%
almonds and 98% of who knows what? So making your own is definitely healthier and the most bang for
your buck. I just follow the same exact recipe as my cashew milk for my almond milk. You're going
to notice a whole lot more is left in the cheesecloth. This is called almond meal and it
contains the proteins and the fibers that are really good for you too. You can toast it in the
oven to make granola or use it in baking. So I just pour it back into the blender to make my life
easier as I pour it into my reusable jar which used to be a pasta jar so that's a way to be
sustainable and reuse things. Last but not least is oat milk. You want to be able to rinse your
oats because it's going to have a little slimy consistency so you want to rinse it all off and
then dry it. Then you guessed it, I add five cups of water, three dates, and some cinnamon.
Adding dates just naturally sweetens your milk but you definitely don't have to add it and the
cinnamon also just adds some flavor but honestly if you are adding frozen fruits to make smoothies
or protein powders you really don't need it. And that's how you make almond milk, cashew milk,
and oat milk. Yay! Quick taste test. Very oat-y. Tastes like oatmeal. I love the cashew milk one.
It is so much sweeter in a natural way and it tastes a little creamier. I'm actually going to
heat up my almond milk and then put some tea in it. I put this in a mug so that I could heat up my almond
milk and add some tea to it but this one has a much more wholesome nuttier taste and rather than
regular almond milk which tastes like predominantly water. So yeah, I hope you guys enjoyed seeing how
to make all of these nut milks. If you like what you see, please like and subscribe and I'll see you later.