
Painting a Lion
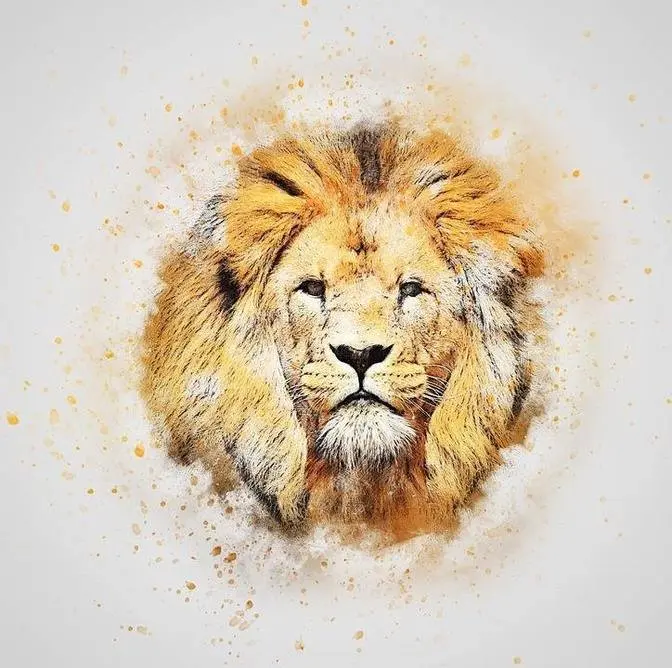
2 Video Views·Oct 22, 2024
Well thank you for dropping into the studio today. I'm going to walk you through the process that I
normally go through when I do a painting. In this case it's a painting of a lion. So the best place
to start is to tone your canvas. Now in this specific painting I started with the outlines
but you can start by toning first or the outlines. What I did is I started by drawing a lion and
tracing him on a transparency and then I projected him onto the canvas and I'm now tracing
that outline. I'm using brown paint and a paintbrush. You can use a pencil or marker. I've
used it all but I find that paint it's best to use a paintbrush mostly because if you use a pencil
when you tone when you paint over your outline a lot of the pencil lines get lost. If you use a
marker eventually whatever you trace with it's going to show through the painting.
So since it's a painting I'd rather have paint show through. The next step is to tone the canvas
and like I said before you can do this you can start with this step or you can do it afterwards.
You just want to make sure if you do it afterwards you add enough water to the paint so that your
outlines show through. The reason we tone the canvas is because once you start painting all you
really want to think about is the painting. You don't want to have to worry about covering oh
there's a there's another splotch of white canvas showing through so I gotta make sure I paint over
there. You just want to totally cover it and you'd be surprised how much it frees you up to just
do your job and paint. It actually gets you well on your way into the painting and I don't
know if it's psychological or what but you just feel like wow I'm already I already got this whole
thing covered and you just you just go from there. The next step after that is to add the highlights.
So I got some white and yellow paint mixed them together and now I'm just going for the lightest
parts of the painting. It's a lot easier to paint dark over light as instead of the other way around.
It's hard to paint light colors over dark so that's really the best place to start. Hit those
light colors first and then you're ready for the next step. After we got the highlights down we
want to add the middle tones and for the middle tones I use brown and red paint making reddish
brown paint and I am hitting the the middle tones the really the majority of the painting is
in the middle tones. If it's unless it's like a very dark painting then you'd have a lot of darks
or light painting you would have the lights but for the most part your paintings are going to be
right in the middle. So I use that to paint just about the whole painting except for the highlights.
After we have the middle tones in the next step is to go into the darks. So for the darks I got
some brown and I added just a little bit of black and it's very tempting at this stage to paint over
the whole painting again and hit every line and but really what we want to do in this stage is
just to accentuate the middle tones. So I'm going to paint over the mid tones but I'm only going to
do it in select spots the spots that are darkest. Really there should be there there shouldn't be
that much more that I add at this stage just accentuating the middle tones with the darks.
After we have the darks finished then we go back and paint over the whole painting and this is
probably the most time consuming part because this is where we really refine what we've done so far.
I had to mix up some some oranges and some yellows and you're just going over the entire painting
again and you really don't want to cover up everything you just want to refine it and clear
up some areas if there's some some splotches that are too splotchy then you want to fix that
and you're just kind of playing with the colors and really we're coming in for the landing now so
you just want to make sure it's make sure you're getting to the painting to where you want it.
It's also in this stage where we go back over the highlights and the darks and so I'm going to
make a more of a pretty much just straight white maybe a yellowish white but mostly white
and then go over those highlights in just selected spots to really add a little more contrast to the
highlights and the same is true for the darks we're going to make it just a little bit more dark
and just in a few spots we're going to add some dark. I don't really use straight black paint
anywhere in the painting except the eyes. I really want the eyes to pop out so that's pretty much the
darkest paint that I use but for the most part it's all going to be a combination of brown and black
or red and brown or whatever. Well the final stage is to paint in the background and I didn't
want to go with straight black because it just would have been too much contrast. I wanted to
mute it a little bit so I just had some black paint and really added a lot of water and just
sort of scrubbed it on there just kind of painted it on and then rubbed it off and painted it on and
and that just gives the background a little bit of a texture and again I really don't want to draw
attention to the background I just I want to draw attention to the lion so it's just a matter of
getting rid of that orange-ish brown that's currently in the back. Okay well this has been
the process of doing a painting and I hope you've enjoyed watching. Thanks for stopping in and I'll
see you in the next video!