
10 Homemade Nut & Non-Dairy Milks, Vegan Recipes + FREE EBOOK!
Hey munchies, I'm Alyssia, if you're new, welcome!
I use milk in a lot of recipes, but it's almost never dairy milk.
Actually, I can't even remember the last time I used dairy milk, but you can sub out most
any kind of non-dairy milk for most recipes, depending on what you've got or the flavor.
Today I am showing you how to make your own non-dairy milk 7 ways,
and I've got a free ebook for you to top it off with 3 additional ways—stay tuned!
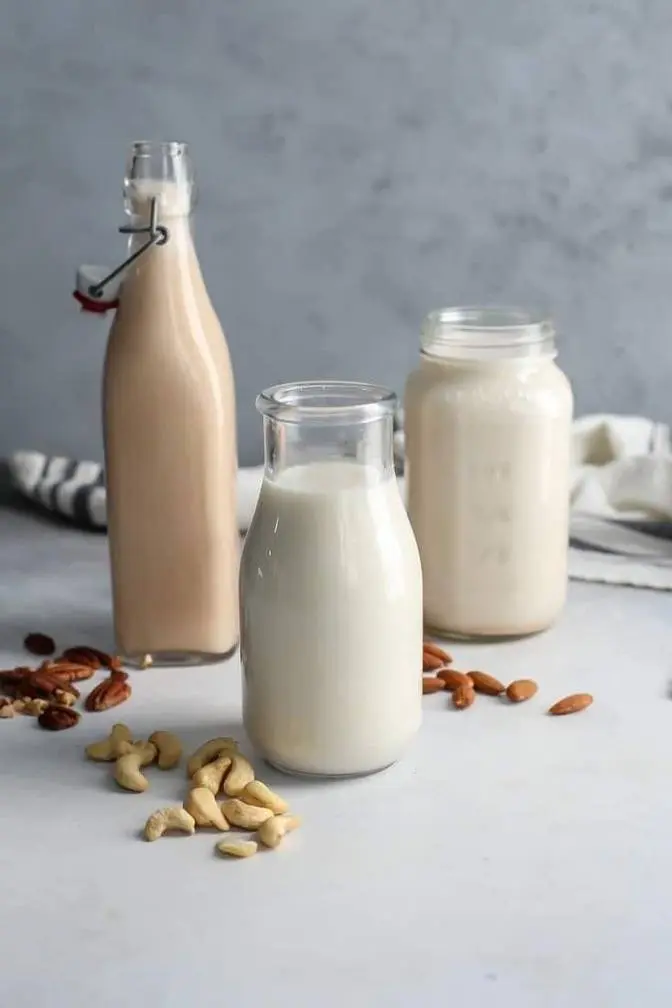
We'll get started with the most basic, a nut milk.
I'm making cashew milk because it's my personal favorite, but you can use any nut that you prefer.
Almond for a classic almond milk, or even hazelnut, pecan, or walnut.
For most of these recipes, the procedure is similar.
Start with your raw ingredient, add water, and soak overnight.
Drain the water and add the nuts to a blender along with some additional filtered water.
I love my food processor, but I do find that a blender is easier and less messy to work with for homemade milks.
Let that go for a good few minutes until it's milky and smooth.
Then we're going to use a handy dandy nut milk bag to strain the mixture.
You can get these on Amazon pretty cheap, I'll link some in the description,
but there are tons of types and you can also use a kitchen towel or a few layers of cheesecloth
if you don't have or don't want to get a nut milk bag.
I'm making a bunch of milks today, so I invested.
Use your hands to get as much liquid out as possible.
Really squeeze it out, and what will be left in the bag is your pulp.
Cashew pulp in this case, which you can totally save for adding to smoothies,
or you can dry it out and use it as a nut flour for baking.
No need to waste, which is pretty cool.
Transfer the milk to an airtight container and refrigerate.
It will last 3-4 days in the fridge.
These milks will separate after some time since there's no carrageenan
and they are all natural, but just give them a quick shake to reintegrate and you're good to go.
Cashew milk tastes similar to almond milk, but is perhaps a little less nutty and creamier.
Okay, so that is the oh-so-basic nut milk.
Shall we get on to the rest, and guess what?
None of them are nuts!
That's nuts!
Let's do coconut milk next, which really only needs plain, unsweetened coconut shreds.
I wanted to show you guys that you can also add in fun flavors to your non-dairy milks,
so I'm going to make this one a strawberry coconut milk,
but you could leave it plain or swap out any of these flavor ideas I'm showing with any of the milks.
And the instructions for how to do that specifically are in that free ebook you're gonna get.
Don't worry about takin' notes.
Soak the shreds in water for a few hours.
It doesn't need to be overnight.
Add that mixture to a blender with strawberries and blend for a good few minutes.
So in case you're confused, if you wanted plain coconut milk,
you would just not include the strawberries.
Nothing else needs to change.
Strain that mixture through your nut milk bag or tool of choice,
and voila!
A naturally sweet and decadent coconut milk!
Now, strawberry coconut milk is mostly good for drinking,
or you could use it for smoothies, oatmeal, overnight oats, etc.
But plain coconut milk is also great for curries, soups, and cooking.
Homemade coconut milk is NOT great for frozen treats because it doesn't have enough fat solids.
OK, next up is rice milk, cinnamon flavor.
You can make rice milk with cooked or uncooked rice, and you can use white or brown.
I actually like the flavor of uncooked and prefer white,
so I am soaking uncooked long grain white rice in water overnight.
Drain it,
add additional water to a blender with some cinnamon for flavor,
maybe even a pinch of salt, and let it rip!
Continue on accordingly.
Rice milk actually has a pretty mild taste.
It's light and a little bit sweet naturally, which pairs really nicely with that cinnamon.
This is almost like something I've had before.
Horchata, anyone?
Thumbs up if you are enjoying these non-dairy milk recipes, please!
Matcha oat milk.
Oat milk is one of my favorite types of milks, and it's becoming more and more popular.
The main ingredient?
Oats, of course!
I prefer to not soak oats and just add water at the time of,
but some people do like to soak them.
I also use rolled oats, but some people make this with steel-cut oats.
Then you can just add high-quality matcha powder—
it should be bright green, not dull, or else it will taste bitter—
and then blend in strains.
As plain oat milk, this does have sort of a strong oat flavor, which I like,
but it will depend how you want to use it if you should consider using oat milk as an option.
Either way, oat milk is full-bodied, flavorful, and so versatile.
Blueberry hemp milk.
This one doesn't require soaking, which is nice!
It's made from hemp seeds, which means you're getting anti-inflammatory effects
of the omega-3s as well as protein.
Blend together raw hemp seeds, water, and blueberries,
if you want the flavor, until milky.
Strain and serve.
Hemp milk has a nutty flavor.
For all of these milks, so you know,
the amount of water can totally be adjusted if you want a thicker,
or a more prominent texture, or a thinner and less noticeable texture.
Hemp milk is one of the more naturally thin non-dairy milks,
so it isn't ideal for adding to your coffee.
It's better for just drinking, or cereal, oatmeal, etc.
Especially with those blueberries.
Vanilla soy milk.
When it comes to making soy milk, the most important factor is your beans!
Use good quality, mature soybeans, which are going to be white!
I got these on Amazon, and will link them.
Soak the beans overnight with water.
Notice how much they absorb the water, and really plump up in size.
Drain, and then add additional filtered water, and blend until milky.
Soy milk is the one milk that you need to heat to help the flavor.
Add the mixture to a saucepan, and bring to a boil.
Reduce the heat to low, and cook for 15-20 minutes, stirring regularly.
The longer you cook, the less bitter and sweeter it will become.
Skim the foam topping, allow it to cool, and then you can remove the skin that forms on top.
Add the cooled mixture with vanilla extract to your nut milk bag, strain, and enjoy!
If you wanted a fruit-flavored soy milk, like berry-flavored, you'd want to blend the berries
with the cooled, strained soy milk, and then strain once more.
Voila!
I am not gonna lie, I have a soy milk weakness.
It's so tasty, even unsweetened and plain, because it has a natural sweetness that is so satisfying.
Don't forget to subscribe and hit the bell for more recipe videos,
educational content, and free ebooks!
The last one I'm sharing today here is a sweet sesame milk.
Soak raw sesame seeds for a few hours, and then blend with water and dates.
You know the drill!
Dates are a great way to add natural sweetness to any of these milks when you make them plain, too.
But paired with the sesame flavor, oh man!
Something about sesame and dates just reminds me of caramel.
I love it.
Okay, so there were seven different non-dairy milks, but I also have three more.
A mango quinoa milk, a chocolate chia milk, and a golden banana milk.
And that free ebook that you can get by clicking the link in my description.
FYI, you can also do blends of these milks,
like a macadamia hemp or a coconut cashew for instance,
and I've included a few recipes with those types of mix and match ideas in the ebook as well,
but I do encourage you to get creative and make your own combos, too.
You saw how easy it was, and it's so nice to know that I can make all of these at home
without any added ingredients that just aren't necessary,
and they'll be more affordable than buying the cleaner options at the store.
I hope you enjoyed these recipes.
Let me know your favorite non-dairy milk in the comments below.
If you found this episode fun or helpful or learned something,
would you share it with someone you know?
I appreciate you.
And I will see you next week right here.
Remember, it's all a matter of Mind Over Munch.