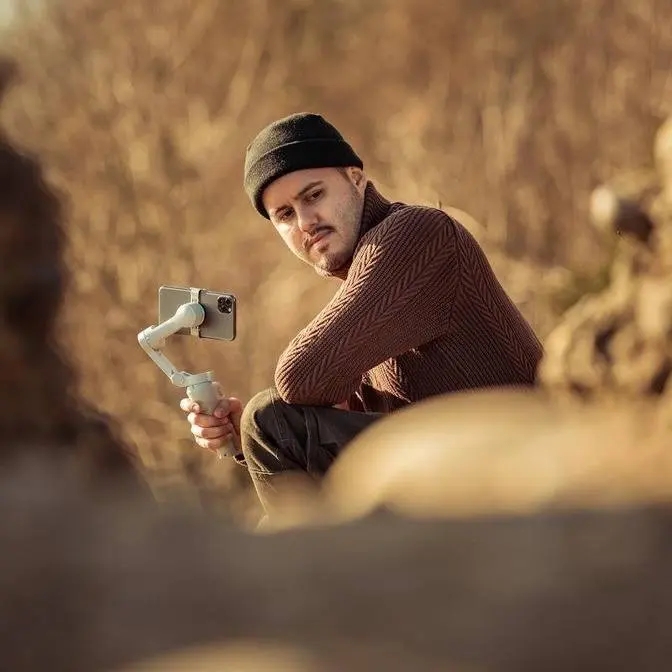
DISCLAIMER Some links are affiliate links, where I earn a small commission if you click on the link and purchase an item. You are not obligated to do so, but it does help support this YouTube channel and allow me to continue making videos for you. I appreciate your support!
TIMESTAMPS: 00:00 - Intro 00:26 - Use a Wireless Mic 01:48 - Use the Wide Angle Lens 02:30 - Use Active Track 03:05 - Mist Filter 04:05 - Keep it Portable 04:25 - Use DJI Mimo App 04:48 - Create a Spin Shot 05:10 - Gimbal Moves 06:08 - Dynamic Framing 06:29 - Camera Settings 08:28 - Learn More
This video provides a comprehensive guide on filming cinematic vlogs using the DJI Osmo Pocket 4, specifically for solo travelers. The creator shares practical techniques for audio capture, lighting, gimbal movement, and specific camera settings to achieve a professional, high-quality look while maintaining a compact setup.
Welcome to Las Vegas.
In today's video, folks,
I'm gonna show you how to film a cinematic vlog
with the DJI Osmo Pocket 4 that I'm filming on right now.
I'm gonna share with you practical tips
on how to use this camera to film yourself,
especially when you're traveling solo like I am.
Now, be sure to stick till the end,
as I'll be sharing with you my go-to camera settings.
This way, you only have to set it once
and can focus on telling your story.
With that said, let's get into it.
Now, when it comes to creating these talking head videos,
it's important that you capture high-quality audio.
While you can use the internal mic on the Pocket 4,
I find it produces too much ambient sound.
So it's better to use a wireless mic like the DJI Mic 3
that I'm using right now.
I have it attached inwards to my shirt,
and this way, you can hear me
even if I'm further away from the camera.
Now, what's great about this mic
is that I don't need a receiver
to connect it to the Pocket 4,
and also, I can trigger recording
by just simply pressing the link button.
Now, especially when filming in crowded places,
you get a lot of ambient noise,
and the Mic 3 features a noise cancellation,
which you can activate so that your voice is isolated
and that your viewers can hear you more clearly.
Now, also be aware of music
because that can strike a copyright claim to your video.
Now, in most cases, you can get away
by just isolating your voice,
but it's better to move away from that music source
just to be sure.
Now, I've attached the Mic 3
right here at the center of my chest,
and you can see by attaching it to that position,
I can sort of hide the mic when vlogging.
The next thing I wanna talk about is field of view.
Now, the Pocket 4 has a 20-millimeter focal length,
which is okay for vlogs.
However, I do prefer a wider field of view.
That's why I like to use the wide lens
that comes with the Creator Combo,
and I can simply attach it magnetically,
and this way, I get a wider field of view.
I can fit more in the frame.
This is especially great when doing travel-type content
where you want to show your surroundings.
So most of the time, I have it mounted on the Pocket 4
when doing these talking head videos.
Now, another useful feature is Active Track.
By enabling it, it will simply detect your face
and follow you, keeping me centered in the frame.
This way, I don't have to worry about being caught out,
but you can do so much more with Active Track,
especially if you want to film yourself
and add a bit more camera movement to your shots,
you can use this feature.
I also used Active Track for the escalator shot
where I placed the gimbal down,
and with Active Track enabled,
it kept me centered in the frame,
creating this interesting shot.
When it comes to filming at night,
you want to be sure to be close to a light source
like I am right now.
In Las Vegas, that's not so hard.
In fact, there's a huge screen right over there
that basically acts as a key light to brighten up my face.
Now, sometimes you do have to film in dark areas,
and that's where the fill light comes in from DJI.
So this is fairly a dark spot,
and right now I have the fill light turned on.
However, if I now turn it off,
this is how it would look like.
Pretty bad, right?
So with the fill light, I can really fill my face with it
and produce a higher quality video.
Now, if you haven't noticed,
I'm also using the mist filter
that I magnetically attached to the Osmo Pocket 4,
which softens the highlight
and creates a dreamy effect in your video.
And I really like the look of it,
which makes a huge difference in your night shots.
What's really cool about the Pocket 4
is that it's super small, compact,
and it doesn't attract attention.
I can simply just place it on the table
and start talking to the camera
while I eat one of my favorite burgers from In-N-Out.
Super, super delicious.
Now, another useful feature is the DJI Mimo app
that you can use to connect your phone to the Pocket 4,
and this way you get a live preview
and can change the settings,
adjust the position of the camera,
recenter, as well as activate a tracking.
And by having this live preview,
it makes it really easy to set your composition
and get a shot of yourself.
Now, if you really want to go crazy,
you can also add automated spin shots to your video.
You can use 90 or 180 degree.
And once you activate it,
the gimbal will automatically rotate
while you can focus on your camera movement.
In my case, I did a pushing shot, which looked really nice.
All right, let's talk about gimbal moves.
If you want to create a smooth gimbal moves
with the Pocket 4,
it's important that you hold it with both hands
and walk heel to toe,
and you can attach the battery handle to add a second grip
because the Pocket 4 doesn't compensate
for up and down movement.
What also helps is setting the rotational speed to slow.
This way, the gimbal won't react as quickly
and will result in smoother gimbal moves.
Most of the time, I use a follow mode as the gimbal mode.
This will follow my hand movement
while keeping the horizon locked.
And if you're starting out,
I recommend doing a linear camera movements,
such as push-ins, push-outs, and slide shots,
which can add a lot of energy into your travel videos.
I also use foreground as well as a wider field of view
by attaching the wide angle lens
to emphasize camera movement.
Also by shooting in 50 frames per second,
I can slow the clip down,
which makes the camera shakes less obvious.
Now, if you want to create a more interesting composition,
you can also use dynamic framing.
By enabling it, nine boxes will appear
where you can then position your subject
to create a more interesting shot.
For example, I've placed myself to the very far right.
This way, I can leave more room to the left,
making it look interesting.
So I quickly want to go over the camera settings
that I use for creating these type of vlogs.
I shoot in 4K, 25 frames per second
when doing talking head video.
And for slow motion, I switch over to 50 frames per second.
And I actually have the custom button set
to switch between those two frame rates.
Now for action type shots,
I like to set it to super slow motion,
recording up to 240 frames per second.
I'm also using the pro video mode.
This way I get more advanced setting.
I set the exposure to auto.
This way it will adjust the exposure
as I move through different lighting situation.
The ISO range I set from 400 to 6,400.
The exposure value I set to negative 0.3.
And if it's really sunny outside,
I set it to negative 0.7.
As for the white balance, I set it to auto,
and it does a fairly good job
at adjusting the colors accurately.
As for the color profile, I shoot in D log M.
This way it captures more dynamic range
and preserves the highlights and shadows better.
It also gives me more flexibility
to color grade my footage later on.
DJI provides a conversion LUT
that you can download and use for free.
On top of that, I like to use my creative LUTs
that give it a cinematic look.
I'll leave a link below for those who are interested.
Now I set the texture and noise reduction to negative two.
This will give me a more natural looking image
that is less processed.
I also set the focus to continuous
as this will adjust the focus as I move around.
In terms of breathing compensation, I leave that on.
This way it won't zoom in much
when holding an object in front of the lens.
Now the rotational speed I set to slow
and the gimbal mode to follow.
When using the DJI Mic 3, I set the volume to negative 12 dB.
This way I can prevent audio distortion in my video.
If you wanna learn more about the DJI Osmo Pocket 4,
I made an in-depth video for beginners
that you can watch right over here.
And if you want to learn how I color grade
my D log footage shot on the Pocket 4,
that video isn't out yet, but if it is,
you can check it out right over here.
That's all for today.
Thank you so much for watching
and I'll see you in the next one.