Making your own corn flakes cereal is more economical, but are they as tasty? Learn how to make corn flakes from scratch with only a few cheap ingredients!
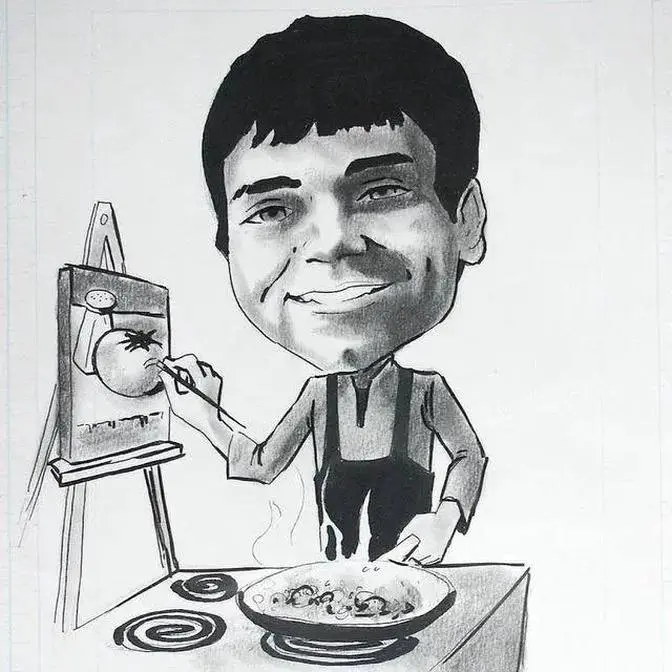
Hey you guys, welcome to iCook and Paint. Thank you so much for watching. I'm so happy to see you
because today I'm going to show you how to make your very own cornflakes. Now I know what you're
thinking. What a waste of time. It's not worth the effort. Why would I make cornflakes when I can
just buy them? Well, let me put it this way. A two kilogram bag of cornmeal cost me three dollars,
but a 440 gram box of cornflakes costs about four dollars. At least that's here in Canada.
So economically, it's cheaper to make your own cornflakes. But what about the quality?
Are they going to be as good as a store-bought kind? Well, you're about to find out. Ready?
First, you're going to need four baking sheets and I've lined each one with parchment paper.
Now each of these measures 10 by 15 inches. The recipe on the blog is going to be for one tray,
which will give you about two very small bowls of cereal, which you're probably going to want
to make more than that. So whether you double, triple, quadruple, or whatever, that's up to you.
Now in this bowl, I'm measuring three cups of cornmeal. To this, I'm going to add six tablespoons
of sugar and one and a half teaspoons of salt. Mix this all together until it's all well combined.
Now I'm going to add three cups of water. Just mix it right in. This has to look almost like
a pancake batter. There we go. There's the consistency that we're looking for.
Now, if you wanted to, at this point, you could add in some sort of a flavoring,
like a little bit of vanilla, some honey, maple syrup, maybe even a little bit of cocoa powder
for a nice chocolatey cornflake. Do whatever you want. These cornflakes are your masterpiece.
I think I'm just going to leave mine plain today. So now you take your baking sheets
and spread this mixture evenly among all four. All right, so a quarter here, a quarter there.
A good way to know whether your consistency is right is if you have this puddling effect going
on. See how the water is kind of oozing around the edges? You want to be able to spread this
very thinly. The thinner, the better. And if you feel that you have to add a little bit more water
right onto the baking sheet to thin it out, then feel free to do so. And you want this to be as
even as you can. All right, now before we fire these into the oven, I'm going to take another
three quarters of a cup of cornmeal and add just enough water to it to make it look like wet sand.
Okay, so you can just mix that with your hands like this. We're going to sprinkle this over top
to give our cereal a little bit more of a crunch. So that's what it should look like right there.
You really don't even have to measure the water. So we're just going to sprinkle it evenly. All
right, now we're going to bake these at 350 Fahrenheit. But one really important thing is
if you do have multiple trays like this at different levels, make sure you rotate them
halfway through. Now let these bake for anywhere from 10 to 15 minutes. It really depends on how
much water you use to smooth out your cornmeal, the temperature of your oven, how many trays you're
doing, etc. It could take even closer to 20 minutes. They should have a really dry appearance
and the surface should be all cracked. Now I want you to turn your oven down to 275 degrees Fahrenheit
and wait until these are cool enough to handle. Then you can peel it off the parchment paper
and tear it into little pieces, or should I say flakes. All right, so now all my cereal is nice
and flaked up. Now we're going to return these to the 275 Fahrenheit oven and let them bake for 30
to 40 minutes. All right, now these have been in here for 20 minutes and I just want to show you
what they look like so far. I always like to give them a stir about halfway through the second baking
just to make sure everything dries out evenly. You might also want to rotate them as well. Now
we're looking for a flake that is completely crispy without any chewiness to it at all.
I tasted one and found that there was still a little bit of a chewiness to it, so I turned
off the oven and let it sit in there with the door closed for another 15 minutes and that dried them
out completely. And hear that crunch? That's how your corn flakes should sound when they're ready.
All right, once they cool completely you can put them into a jar.
We have a lot of corn flakes too. Let's try some out here. Now I'm going to take some milk.
Very nice. All right, let's grab a spoon here. Doesn't that look delicious?
I don't know if you can hear it crunching but I sure can. And that's it guys. Yep, I'm signing
off with a voice over here because I couldn't contain myself. I just wanted to finish those
corn flakes so I was done talking. Remember the link for this recipe is in the description box
down below. If you give this a try then let me know how it went for you by leaving me a comment
down below. And if you like DIY recipes like this then check out the DIY playlist on this channel.
Give some of those recipes a try and let me know how they go for you too.