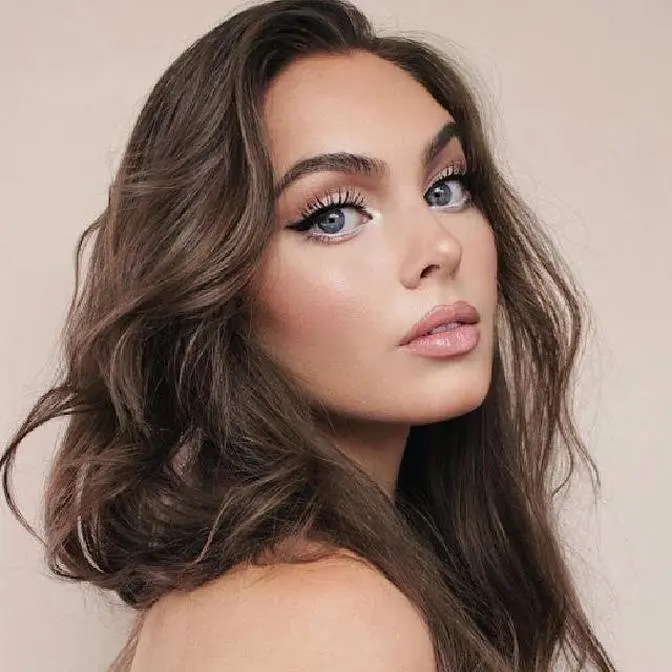
Hey it's jackie wyers & welcome back for this Quick HEATLESS Hairstyles For Fall / Autumn🍂 part 2! I loved filming a series of heatless fall hairstyles in 2020, so I hope you enjoy an updated version! This video is sponsored by Ulta beauty to let you know about the Gorgeous Hair Event (GHE) which is a twice-yearly sale with Beauty Steals in the hair category for all hair types! Discover Beauty Steals, up to 50% off fall haircare essentials here: https://www.ulta.com/gorgeoushair/
The event is three weeks and running 10/3 - 10/23 & some steals only last a day, some are online only, and some are in store only, act fast to make sure you secure the Beauty Steals you want! All the products I used are listed - let me know if you have any questions about my experience with them so far and I can give you more details!
Chi Shine Infusion Hair Shine Spray - https://go.magik.ly/ml/1amlm/ Let me know if you want to see more hair tutorial like this :) Which look was your fav? The bohemian and textured long braided ponytail like Gigi Hadid, cute mini bubble braids, or a soft romantic bun with a big bow!
NOTE ABOUT 2ND STYLE: I like to cut the mini elastics out or it's a mess! Pull the last loop of the elastic away from your strands and touch small scissors to the plastic and it should pop. No need to actually "cut" and potentially cut any hair.
On my channel find iconic POP CULTURE beauty moments and how to re-create the look on yourself! The goal of my tutorials is to teach practical makeup & hair tips and tricks so you can Switch Up Your Style With Confidence while celebrating what you love.
For new 🍿POP CULTURE🍿 & 🎀VINTAGE VIBES🎀 tutorials - subscribe so you don’t miss an upload every week & tag me if you try out a look so I can feature you in my next upload! xo Jackie
Disclaimer: sponsored by Ulta Beauty to celebrate their twice yearly sale for hair!
hey it's jackie and welcome back to my channel for an updated heatless fall hairstyles tutorial
i love fall makeup fashion and hair and i'm working with ulta beauty on this video because
it's their gorgeous hair event which is a twice yearly sale for beauty steals in the hair category
for all hair types in this video while i create the styles i also shopped the sale and i picked
up some old favorite products tried some new ones i am obsessed with this oil this is the sebastian
dark oil i have not smelled a hair product that smells as good it smells like like an abercrombie
store wow i said like a lot uh kind of sandalwoody it's amazing this is my favorite new product
from what i've tried but i'm excited for you guys to see what i picked out you definitely
want to take advantage of this sale that lasts for three weeks so october 3rd to the 23rd and
the event offers daily beauty steals for up to 50 off hair care some steals only last one day
some deals are online or in store only so make sure to check it out so you can secure the beauty
stills that you want i'll have a link in the description bar as well as pinned as a top comment
if you want to shop the sale and get some of your favorites at a discounted price or try
something new and let's get started with these fall hairstyles the first look we are creating
is a super high ponytail with a textured braid and i do a cheat in here so there's a hidden pony in
the middle of the head so we get more length to the braid i needed a new brush so i picked up the
olivia garden smooth and shine styler in pink i've already used it so you can see some hair in here
but it has a removable cushion so you can clean the brush and i love the duo bristles in here
brushing all the way through and in the ends i've already raved about the sebastian dark
oil in the intro it's a lightweight styling oil with an incredible fragrance and i'm adding this
to the lengths and the ends might as well treat the hair while it's in a braid
and the scent is very fall and cozy to me like this sweater
okay finally the hair steps so after we've prepped take your fingers and divide your hair from behind
your ear up to the crown of your head so your hair is divided into two sections i'm using
my new brush to smooth out the top and then i'm using a sturdy elastic to create that first pony
next step is to take the remaining hair and add into another pony at the back of your head
and this time try to use a smaller elastic because we don't want this to pop out too much
taking a comb i'm using the tail and picking up the hair and pulling slightly to smooth it out and
make the look a bit more relaxed you can see this step in the perky ponytail tutorial which i'll
also have linked and this step is totally optional but if you do have quite fine hair like me
your braid might start off very small and thin instead of messy and bohemian so i'm
gonna add a three clip weft of extensions that i'm applying around the base of the ponytail and then
i'm wrapping the base with a piece of the hair and adding some bobby pins to hide those clips
my favorite hairstyles again are more textured so thanks serena van der woodsen
more than blair waldorf's hairstyles and i love an irregular look so i'm pulling on some of
those front pieces so that it's kind of like loopy and cool and let's start the braids so
we're just doing a simple braid here and once you're at the length of the second ponytail
start to expand your braid i have a clock clip holding it as i do this that's why it's sticking
straight up but having the second ponytail we are going to start to braid the hair in
i'm doing a french braid a couple wefts until the hair is all added into the main braid
keep on braiding throughout your lengths and if you do have finer hair that maybe hasn't been cut
in a while like me you might end up with a shorter piece within the three pieces that you're braiding
and if this happens take one portion from the other section add it into the smallest piece and
then continue to braid this will give kind of an irregular look to the braid if you do it several
times but this allows you to keep on braiding further in the hair and then section off with a
small hair elastic this is totally inspired by gigi hadid and i want the side of the braid to
taper over the shoulder so i'm bobby pinning over to the side and then making sure i have one bobby
pin hiding that elastic and you might be thinking why didn't i just create a ponytail and do a braid
but it would sit a lot shorter and it also would be weighed down a lot more so you wouldn't be able
to see it as perky in front and when you have a second braid you can kind of prop up that first
portion it's also more comfortable because there's a lot less pressure on the crown of your head
for the pop culture password comment we love gigi hadid because that is who this look is inspired by
as well as the next style for fall look number two we are doing some cute bubble braids and i wanted
to try the cryotherapy brush by babyliss pro this is a product that i've seen reviewed a couple of
times but i feel like it's kind of misunderstood so i wanted to test it and it's a hair treatment
not a straightener so it won't straighten your hair my hair is pretty much straight as it is
it is a brush but it does have a cold plate that goes to zero degrees celsius and it can be used
on wet or dry hair and how it works is essentially kind of like a fridge where the back does generate
some heat to keep the plates cool and the benefit is to add moisture back in and hydrate the hair
improve the look and condition so it's a product that you're supposed to use over time
so i will update you guys on this product the more i give it a chance but i thought it was
really interesting great to get on sale and now let's create mini bubble braids
and because i prefer braided styles that don't lay right across my face but more back i'm creating
another pigtail right beside it further back before adding in small elastics throughout the
entire length of the hair this look is pretty easy and very fast if you have shorter hair but if you
do have long hair like me it is a bit of a hassle to pull the hair through the elastic each time
and apply the elastic a bit further than you want the bubble to be and then separate the hair
underneath into and pull this pushes it up and creates a little bubble form
there's quite a few ways you can wear this style you could do a couple just around your face which
is really cute or you can do bubbles all the way down the lengths of the hair you can keep
the bubble size super consistent i decided to go kind of bigger at the bottom and throughout
the day if you want the bubbles off your face it looks cute as a half up half down style too
be sure to let me know which look is your favorite and i think you'll love this last
one which was loosely inspired by lily rose depp at a red carpet i love overnight curls
but sometimes it's frustrating to create robe curls overnight with your full head of hair
and then find for some reason they've loosened up overnight or maybe your hair just didn't curl as
much as you thought it would so as a foolproof way to do this i like to get ringlets around my face
by leaving out most of my hair i'll either put it in a bun or just leave it
and then i'll do the section around my hairline and create tight ringlet curls
and while my hair is still in these ties i'm going to work with the back section of my hair and brush
it into a high ponytail and i'm using the fukai full-blown of kim dry texture spray that i picked
up at the gorgeous hair event which is perfect for fine hair i spray it in circular motions and then
scrunch my hair for instant volume and an airy texture it's definitely lighter than hairspray
and it also has a warm woodsy scent which is like the hair oil so i'm obsessed with the products i
picked up in terms of scent and these have worked really well for me instead of adding an elastic
i'm starting the twisted ballerina bun from here looping the ends around the base
this holds for me temporarily i will reposition the bun start to tug on each side to make it
fuller more soft and romantic and then i'm securing each side with
bobby pins and piecing apart as i go
so that's how i do a pretty version of a messy bun i find it really stays in place with bobby
pins because my hair is quite thin but if you have very thick hair you can use an elastic and
then use bobby pins to shape it how you want by following the same steps now all we got to do
is remove the rope curls and i look very regency air here but we're not going to keep it this way
i'm piecing apart the curls and then
piece by piece picking up and adding into the base of the bun
because i don't have shorter pieces around my face i like to loop a section into a pin curl
with the ends hanging down and then use two bobby pins on either side of the loop to have a shorter
curl around my face it's really pretty to add these curls throughout the bun
very romantic and i'll take the leftover curls that maybe i don't want all around my face and
i'll pin them to the back of the bun i also picked up the chi shine infused hairspray
using that to set the curls because my hair is naturally straight and will fall
and here's where i pulled major inspiration from lily rose depp i loved that her stylist
had a massive bow at the back of her bun so i decided to tie my own i pinned the sides of the
bow right under the bun and of course you can cut the bow shorter but i felt like the really
long ends was very interesting especially if you have like an open back top or something
and i'm back at it again with the sebastian dark oil adding it to the bun for some shine and
because it smells amazing and i hope you enjoyed this year's hairstyles and thank you to ulta
beauty for sponsoring this video i had a blast shopping the sale and coming up with these looks
i'll have products that i tried linked down below in the description bar you can just press the
small arrow if you're on a mobile device to see it as well as pinned as the top comment and if you
want to keep on watching check out my last year's video that was more heatless fall hairstyles that
i still wear all the time love those styles or maybe you're looking for fall makeup inspiration
and i would recommend the iconic 60s makeup tutorial that i did last year for some reason
it's picking up in the search engine and i think it is a really great look for fall
if you like something bolder on the eye and i will see you in my next tutorial