
How to put on an Israeli Bandage
3 Video Views·Nov 20, 2022
Hey everybody, this is Josh here,
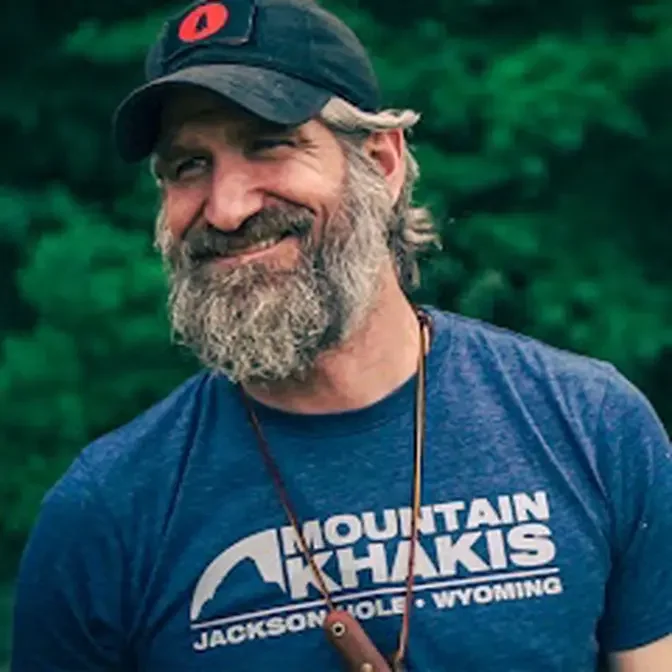
the Gray Bearded Green Beret.
Just wanna let you know that the GB2
Distance Learning Center is live now.
I'm developing this Distance Learning Center
with three people in mind, really.
It's for the people that want to prepare themselves
for a physical class with me.
It's also for those of you out there
who, no matter what, be it financial,
be it physical, be it distance,
whatever the reason may be,
you'll never be able to make it to a physical class
and come train with me,
so I wanna make my training available to you.
It's also for those of you
who have taken physical classes with me,
but you want a refresher
or you wanna have that reference material,
and the Digital Learning Center
is something that you can access for life.
The first course is up and running right now.
This course is about controlling bleeding
in a remote wilderness emergency scenario.
What to do when you're all you've got
and nobody else is coming anytime soon.
Here's a look inside the course
that shows you how to put on an Israeli bandage.
So for the Israeli bandage,
this has basically a dressing built in,
and it's also elastic,
so it works really well for this.
Once I've got that wound packed,
if I'm using an Israeli dressing,
I wanna maintain that pressure on there,
and I'm gonna replace this manual pressure
with this pressure dressing.
So when you open this up,
you're gonna have a cleat,
and of course, you're gonna have
a reasonably sterile field right here
that you're gonna place directly over the wound,
and you want that cleat
to be directly over the wound as well.
So what I'm gonna do is,
maintaining that pressure,
I'm gonna wrap that around,
I'm gonna bring this around,
give it a nice tug to make sure it's tight,
and then I'm gonna come down through this cleat.
Once I'm through that cleat,
I'm gonna reverse direction,
coming across this way.
And I wanna pull that until this collapses over,
because now, what's happening is,
this cleat is applying direct pressure
directly over top of the wound.
I'm gonna keep that tight,
and continue to wrap it around.
I'm gonna completely encompass
that sterile field if possible,
give it nice, short tugs as I go around to keep it tight.
Making sure that I come all the way down on both sides
keeps a lot of the dirt and debris out of this,
keeps the wound a little bit cleaner.
Once I get to the end,
I'm gonna have a second cleat,
and all you have to do with that
is bring up a layer,
set it inside,
it'll capture on those teeth in that cleat.
Bring up another layer on the other side,
and capture that.
So, with this,
what I don't want is,
I want pressure on this,
this pressure dressing replaced my manual pressure,
but what I don't want still is a tourniquet effect.
So it's a good idea,
when you're putting this type of intervention on,
to kind of check,
should be about one finger tight,
should still have reasonably good capillary refill,
and you should still be able to feel a radial pulse.
When you're checking for the radial pulse,
it's right here,
imagine this thumb is still here.
Right here along the thumb,
on the inside,
using two fingers,
don't use your thumb,
because your thumb has its own pulse.
Two fingers,
place it right inside there,
and you should be able to still feel the pulse.
And that means you have not created the tourniquet effect,
which is not what you're going for.
So, this is good to go.
Now keep in mind,
this is just one of many skills
that I cover in this course.
During these courses,
because it's on a different platform,
I'm not limited by the platform.
So I can go as deep into these courses as I wanna go.
I'm not limited to the attention span of the masses,
and I'm under no time constraint,
like I would even at a physical class,
I do have some time constraints,
so I can only cover certain things
within the context of that class.
For this, it's one-on-one,
it's self-paced,
there's no time limit.
I can go as far into the weeds as I want to
on every single subject that I choose
to put on the Distance Learning Center.
With that said,
for this course,
Controlling Bleeding in a Remote Wilderness Emergency,
I'm gonna go over cardiovascular anatomy,
I'm gonna talk about types and characteristics of bleeds.
We're gonna take a look at some of the old,
outdated protocol that a lot of us in the military learned
back in the day,
and we're gonna replace that
with a newer, more updated protocol.
We're gonna talk about things like wound packing
and using hemostatic agents like Kwik Klot.
We'll talk about pressure dressings
and how to use things like the Israeli Bandage
that you were able to preview here in this video.
We'll also talk about the application
of different tourniquets like the CAT.
We'll talk about the Soft-T.
We'll talk about the RevMedix TX2 and TX3.
We'll also get into what should be
in your trauma kit for bleeds,
but also how to improvise with your 10-C's kit
for when you find yourself less than prepared
for whatever emergency you're facing at the time.
With that said,
I hope you enjoyed this preview,
and I look forward to seeing you guys
at the GB2 Distance Learning Center on Thinkific.
I'll put that link in the description below.
Till next time, appreciate your likes,
your views, your comments, and questions.
Put those below, and I hope to see you in the woods.