
Eyebrow Tutorial
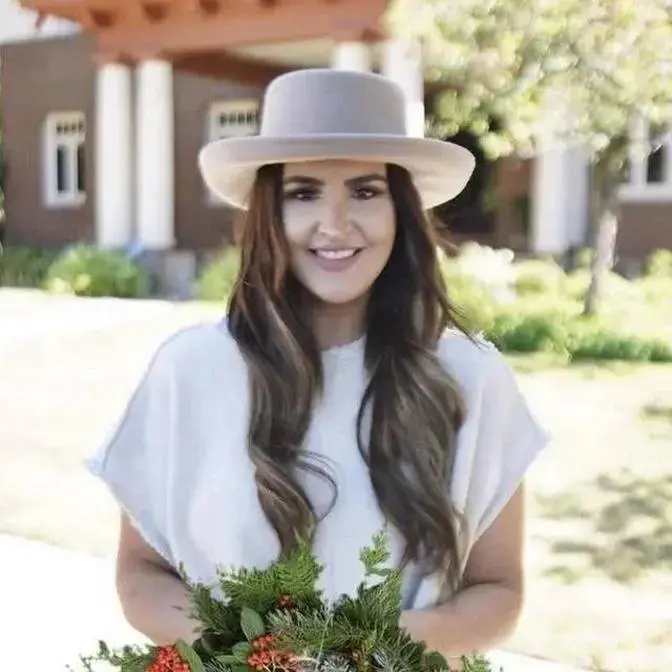
4 Video Views·Nov 14, 2014
Just to clarify- I'm sure everyone noticed it looks like I have a big bald spot haha! Sorry guys, my hair was just parted to the side in the front and it stayed parted down the middle in the back! ;)
Anastasia DipBrow- Color Chocolate
http://www.ulta.com/ulta/browse/productDetail.jsp?productId=xlsImpprod6330246&cmpid=PS_Non!google!PrestCos_Anastasia_Beverly_Hills&CAPCID=37411890870&cadevice=c&gclid=CIDFh_uH-8ECFYqFfgodyxMAzw&CA_6C15C=330000200000110415#
Instagram: ashleyhuze
Facebook: https://www.facebook.com/ashley.hughes.3781
Hey guys! I've had a huge request for an eyebrow tutorial.
So today, I am going to do that for you guys.
I've already done one eyebrow, which is this one.
Hopefully you can tell.
So I'm just going to show you guys really quickly how I fill in my eyebrows and what I use to do that.
So, all you will need to do this, I have used in the past eyeshadows,
even eyeliners, nothing has worked for me as well as the dipbrow has.
So what this looks like, I get that it's Anastasia, Anastasia, however you want to say it,
Beverly Hills pomade dipbrow.
So this is what it looks like.
Hopefully you can see that.
And I get the color chocolate, but that's going to depend on your hair color, your eyebrow color,
what color you're going to want to get this in.
The other thing is, I got the little stick, whatever you want to call this.
I don't know the term of this, but as long as you have a tip like this, you can do this eyebrow look.
Something else that I would recommend having is a little cloth, tissue, paper, whatever,
because I usually dip it a few times on this.
So this is all you're going to need to get this look.
The first thing I like to do is, using this little brush side, I like to comb all my eyebrow hair
so they're going in the same direction, and I just like to comb them up.
This also kind of makes them thicker looking.
And I like thick eyebrows, so I mean, I guess it's preference, whatever you want to do,
but just make sure they're all going in the right direction.
And then, this is what you'll do.
You'll just dip this. It's kind of like a jelly texture.
If you have ever used the dip eyeliner, it feels exactly the same.
So just kind of dip a little bit, and I like to scrape off it on the side so it keeps it into a point.
The first place that I like to put on this dip brow is beneath my arch.
I like to just create the perfect arch right there, and I do this with one sweep.
I have a mirror down here, so if you're wondering, because of my computer, it shows it backwards.
Hopefully you guys will be able to see this.
So I just start right here and create one line. That's all I do down there.
If you don't have a really good arch, again, you can just exaggerate it and make it up.
If you don't have anything right there, this looks really natural when you use this stuff.
The next place I like to do is I dip it again, and I just kind of go through all my hairs,
just making them a little bit darker.
I'm just kind of coloring them in.
And then, once those are kind of colored in, I do the top half.
This is where you can make it look just like a perfect eyebrow.
Again, I dip it, scrape it.
And usually with this, I will get my little cloth and kind of scrape it a little bit so it's not so dark,
because you don't want to look like a drag queen.
So where I start right here is I'll start up at the arch, and then I just kind of pull it down over to the side.
So I'm just kind of filling in these hairs, making it, you know, my arch a little bit bigger than it really is.
I'm pulling it down.
So right now it kind of looks a little bit funny, because I haven't pulled it all the way down to the front yet.
And so just expect that. It's going to look a little bit silly for a minute.
If you need more, again, just dip and kind of scrape it on there.
Okay, once you're kind of happy with what the arch looks like and all the hairs are colored in,
then dip it again, scrape off extra, and then this is where you're going to kind of,
you're just going to get from here and just pull it straight down to the front.
So it looks a little better once it's kind of connected like that.
The inside of right here, this is where my technique changes a little bit.
Okay, I'll dip it again, scrape it off kind of a lot so there's like barely anything that you can see on there.
And you're going to flip the brush like this.
So instead of, you know, the whole time you're pulling it like this, now you're going to flip it up
and you'll just kind of draw little hairs right there.
I don't really have very many hairs in there, but it looks like I do just because I create that look with this little technique.
So you're just going to kind of draw hairs and you want them to be lighter than the rest of your eyebrow,
which is why I like to scrape off like 90% of what I just put on.
You can see it's starting to get a little bit darker there, but it's still lighter than the rest of my eyebrow.
I also, with the light, when you have barely any product on there, come beneath down here and pull this down too.
So it's just a lot lighter on the inside, everywhere.
And I usually flip it around and do that with the brush a few times to make sure all the hairs are going in the right direction.
And occasionally I have a q-tip here.
If I make a mess, you know, just get it wet and wipe off what you did.
It's really super easy.
So that's basically it for you.
I know a lot of people use a gel after to kind of hold it in place.
They sell these just at drugstores.
It's like a little clear gel that has the same wand on it.
And you just dip it in this gel and you can comb through.
But I have found with this that it stays in place.
The hairs all stay in one direction.
It's not crazy all over the place all day.
So I feel like this is all I need when it comes to filling in my brows.
Hopefully that helped some of you.
That's really how easy it is.
It doesn't have to be any more complicated than that.
So if you have any questions, you know, you can feel free to ask.
But that is kind of how I do my brows.
See you later.