
Repairing the Mirrorball lights in a Rowe R93 Jukebox!
1K Video Views·Jan 7, 2025
ladies and gentlemen this is Joe's
classic video games back with another
really cool arcade game video for you
today this is a repair video very simple
one but we figured we'd videotape it cuz
it's kind of neat we've got this juke
box here that we're working on which is
an
r93 I believe let me check it's a
row let me make sure I've got this right
I don't want to mislead
you h i saw a label
somewhere where did I I see
that yes r93 okay this is a row
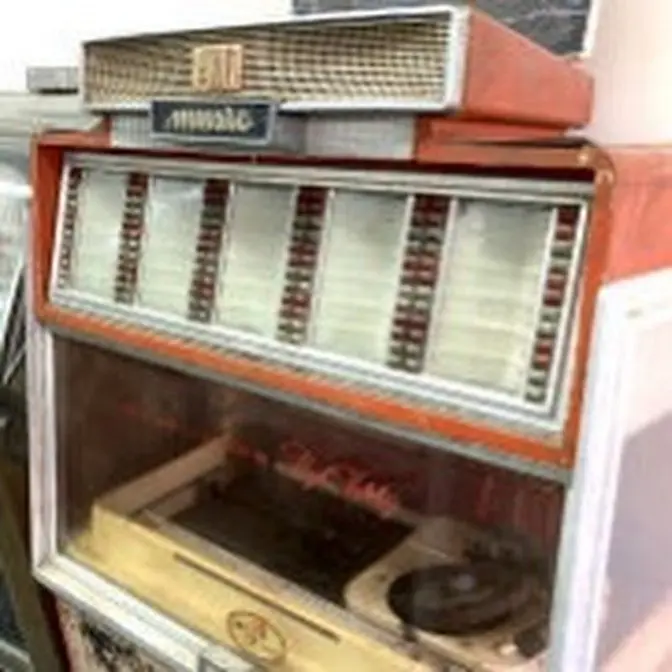
r93 as you can see and it had this
really neat
um look to it now right now it doesn't
really look all that neat looks kind of
rough right so we're going through and
we're getting all of its Cosmetics going
again so we're getting all the light
bulbs to work all that and one of the
neatest things about this machine is
right here in the middle midle we've
removed it but it has this little mirror
ball that turns and it has a bunch of
little lights that shine on it and that
has this neat effect that looks really
cool this would have came out in
probably 87 88 something like that maybe
a little little later than that so
here's the assembly that we
removed we'll walk it over here and put
it on the shelf on the table check this
out so that goes up in there and when we
got it and we tested it the miror ball
actually
turns but none of the little light bulbs
were working and so you get stuff like
that in a lot where little minor stuff
like that they've really ignored you
know
so it is our goal to get that working at
least somewhat like it did
originally so you can see the way the
mirror ball works is there's just a
little motor on the
end with a little plug and then there's
this other plug that basically sends the
uh voltage to the light bulbs and so the
light
bulbs as you can see are different
colored bulbs All Around The
Edge they're kind of faded and things
like that but we're going to leave
that and uh basically the way it works
is the voltage comes in and then it's
split up through these three different
boards so on this side you've got a
board with three
bulbs on this this side you've got a
board with three bulbs and on the top
you've got a Bo a board with six bulbs
and those represent the ones that you
can see on the uh inside that's visible
through the front and so basically they
have these little
uh connectors these little twist things
and a bunch of them are missing they
fell out or whatever over the years so
if you remove one and they're kind of
brittle
because they're old it's just a little
bulb with a little twist thing now if
you're not if you haven't seen one of
these all this is is the same thing
that's on an instrument cluster in a lot
of cars and when I say a lot of cars I
mean like 80% of cars so the side the
thing you need to get is the right bulb
and the right holder because we've got
some missing so
basically uh the bulb on this is marked
number 73 which is a dash indicator
light on a car so it runs off of 12
volts just like a car battery puts out
um etc etc and that's what they used on
this machine now the little holders are
the the same holders that hold the bulbs
in on a car they might look a little
different but they work the same
basically you've got a hole you twist
the little connector into it which makes
those two metal prongs
the two gold prongs there whenever you
twist it it makes it where one's
touching this side and one's touching
that side which is how it Powers the
bulb and the the size of this connector
is T5 which is basically just the base
of the bulb it's called a T5 so we got
on good old
eBay and we couldn't find parts for an
r93 juke box but wouldn't you know it
they have plenty of bulbs
for the indicator light on your dash
right and wouldn't you know it they have
plenty of
T5 bulb holders for the indicator lights
on your dash the illumination lights and
things so uh we were able to figure them
out somebody must have heard about this
video and they're calling to see
uh What uh what the next video is but
what we're going to do is first we're
going to ignore the
phone we're going to fix up all of those
uh connectors and I'm going to clean
these uh contacts to make sure that it
makes good contact and then we're going
to twist our new ones in and then I'm
actually going to check the the
continuity from this side to this side
to make sure that I'm getting the same
uh reading that the bulb does I've
already checked these new bulbs and it's
got 15 ohms resistance so if I if I
checked between here and there with that
holder in I should get 15 ohms of
resistance letting me know it's making
good contact and so once I get all three
of these boards all rigged up with just
the right stuff and just the right bulbs
we're going to put it back in and see
what happens so I will film that video
be right back all right so we've mounted
it back in there there's just three or
four little bolts that hold it in I've
got the lights off cuz we're going to
turn it on and show you what it looks
like in the dark so there it is
installed let's see if our bulbs
work
check that
out very
cool I'm G fill this one full of disco
music so there you go that's repairing
the little light bulb
sockets like I said simple little thing
I mean it's not that big of a deal but
this is the kind of stuff we run into on
a lot of things um you have to improvise
a little bit and you can't find the
original parts you got to use something
similar blah blah blah blah blah but
there you are hope you enjoyed the video
and uh whenever we get this juke box up
and running completely which will be
soon we'll update a we'll upload a video
for that as well so we will see you on
the next
video