
Christmas Pikachu Bookmark DIY - Easy Pokemon DIY - Pikachu DIY Gift (Paper Crafts)
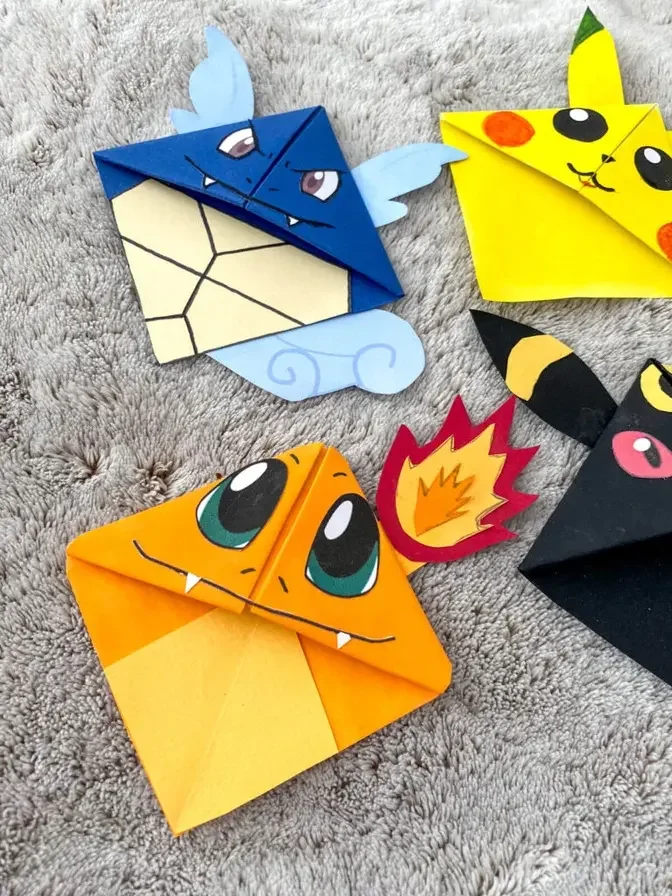
1 Video View·Feb 21, 2023
Christmas Pikachu Bookmark DIY - Easy Pokemon DIY - Pikachu DIY Gift (Paper Crafts)
Comments are disabled for this video.
Hello, hello. Welcome back to Red Ted Art.
Today we're going to show you how to make Pikachu.
And not just any old Pikachu, Christmas Pikachu.
So go on then, let's take a look and see how they're made.
So, to make our Pikachu, or Santa Pikachu, we shall need a yellow square piece of paper.
Mine happens to be 15cm by 15cm.
And you'll need some pens, a glue stick, scissors, and some scrap bits of paper like this.
A big bit of red, a little bit of white, and then lots of little colours.
So let's get going.
The first thing you need to do is bring the bottom corner up to the top of your square.
So this is like a diamond actually, rather than a square.
Although it is a square too, depending on which way up you've got it.
Bring your corner over here to the top corner.
Creating a straight perpendicular line down the middle.
Bring this corner up, like so.
Try and get it as aligned as possible.
There you go, get it really neat.
So these two lines totally meet in the centre.
That just makes your Pikachu a bit neater.
Open it up, bring the top one down.
And then you bring this fold over and tuck it in.
Again, do it as neat as you can because it will make your final Pikachu neater and cuter.
Fold this over to get these lines to straighten.
This one, and tuck it in.
So this is your basic corner bookmark.
Which by now, if you know red head art, you already should know how to make.
So now let's turn this into Pikachu.
The first thing I'm going to do, which I didn't do on the original one actually,
but I have done on the other Pokemon since.
I'm just going to round the corners off a little bit.
Just to give it a little bit of cuteness shaping, so to speak.
Just a little bit of shaping, not too much because you don't want it falling about.
You don't need to cut the top off because that's where the hat's going to go.
Next you need to do an ear.
So it's very simple.
You take more of the same yellow paper.
Get a rough shape, like so.
I'm just going to get a piece of scrap paper to put underneath.
Because my black pens always run through.
Then I'm going to get a black marker pen.
Just give that sort of Pikachu top shape.
There we go.
Cut it out.
I know we've made Pikachu before.
This is actually the same as the other video.
Then we'll add the adorable little hat.
So remove all that.
Get that ready.
Like so.
Then you might want to add your details to Pikachu.
So the first thing I start with is the little mouth.
Which kind of goes in and out.
Then I add a little nose.
Like so.
And the big Pikachu eyes.
With a little shiny bit in the corner.
It's already looking super cute, isn't it?
Just see if I can straighten that a bit.
There we go.
And you've also got some big rosy cheeks.
Like so.
And then if you want, you don't have to, but I quite like this little detail,
add a black outline.
Okay, so that's Pikachu almost done.
Now we want to make his hat, don't we?
So to do that you'll need a piece of red paper.
Let's just cut some out.
It's easier to work with a small piece of paper than it is with a big piece of paper.
You move that ear.
You kind of pop it over your...
Actually, you put the ear back so you know roughly where it's going to go.
You pop this over so you can have a look at where your hat's going to go.
And then you just sort of do a very loose outline of what the hat could look like.
Like so, and I think like so.
Now if you look closely, I don't know if you can see that,
but that's actually almost a small semicircle.
So if you're finding this method tricky and you're not getting it quite right,
why don't have a go at cutting a semicircle and going from there.
And then I'm just going to cut a little bit in like this,
and a little bit in like that.
Let's have a look.
Now don't worry, we haven't got the white bit yet,
so if it doesn't look quite right yet, that's why.
So we'll get our piece of scrap white.
And now I'm going to cut the bit that goes underneath.
So I'm going to start here.
Just do a little wiggly, wiggly, wiggly, wiggly.
I hope I've done it wide enough.
I do kind of do this freehand.
Let's have a look.
Yep, okay.
It's a little bit short, so I'm just going to go snip.
And I think that will fit nicely.
Like so.
Tiny bit off here at the bottom.
And then you need your pom-pom.
Again, you just cut a wiggly circle basically.
If it's easier, draw a circle first and then just cut it out wiggly.
Same with the rectangle.
You can draw a rectangle first and then just cut it out in a wiggly sort of way.
Stick this on.
I'm actually putting glue on the top half of this white bit
because I don't want it sticking to my table.
Stick this on.
Here we go.
Let's have a look.
Oh, he's looking so cute.
Let's stick it on the hat.
I think I want it poking slightly over the ear.
Not the ear, the eye, sorry.
And now I'm going to stick the ear on.
What do you reckon?
Isn't that cute?
Now, on the one I showed you in the beginning of the video, we still have some fairy lights.
Now, this was my son's idea.
He said, Mommy, can we put fairy lights on Pikachu?
So I'm going to cut out some fairy lights.
I'm going to do them as quickly as I can by lining up all my different colored papers.
You can see I've used this paper for other projects already.
I like to save and reuse.
Now I'm going to cut out little lights.
Let's see if I can do them all in one go.
Have you ever noticed I'm a little bit of a lazy crafter?
A fairy light, to me, has this sort of eye shape.
Let's see if this works out.
I'm not sure exactly how many I need.
I just like to cut them and then have a look.
Then I'm going to cut across.
Here we go.
Get all those bits away.
All those bits.
There we go.
Lots of fairy lights.
Great.
Now all you need to do is arrange them in a nice pattern.
This one's got a little bit extra.
There we go.
Glue them on.
I've got a slightly different yellow here.
It's a bit of a contrast, hopefully.
You can make some of them point down, some of them point up.
When you've got a string of lights, they often don't go in the same direction.
I'm just roughly putting them in the right place.
Then I'm going to glue them down in a minute.
These fairy lights, the ones I did on the other Pikachu, are a little bit chubbier.
I don't think that matters.
Maybe it does a bit.
Actually, let's cut a bit.
A bit too long.
Here we go.
Another blue one, I think.
What's the last one?
Red, maybe.
Here we go.
In my mind, I've drawn an imaginary line going at the bottom of each fairy light.
I'm going to glue them down with this imaginary line in mind.
Then I'm going to get a black pen and draw over.
Think about the line that could be there.
This one's a bit too long.
I think it's quite a cute little idea of my son to add the little fairy lights.
Here we go.
Of course, you don't have to do that bit, but I think it's nice.
Remember, when you're gluing them down, there's an imaginary line you're following.
That's going to be your strings.
Give that just a sec.
What color should we add at the end?
Let's see.
Maybe another green one.
That's your fairy lights glued down.
Get my black pen.
Get my surface.
I'm going to draw that black line.
Then I'm going to draw another one down here.
Then, just the last little finishing touch,
your baubles actually have a little metallic bit at the bottom,
which attach it to the string.
I'm just going to add a little fat bit to each light.
There we go.
That's your Christmas Pikachu finished.
Aren't they adorable?
Let's have a look and see what they look like in the book.