
DIY Pokemon Cake - for BEGINNERS - Pokemon Pinata Cake - How to Make a DIY Pokeball Cake
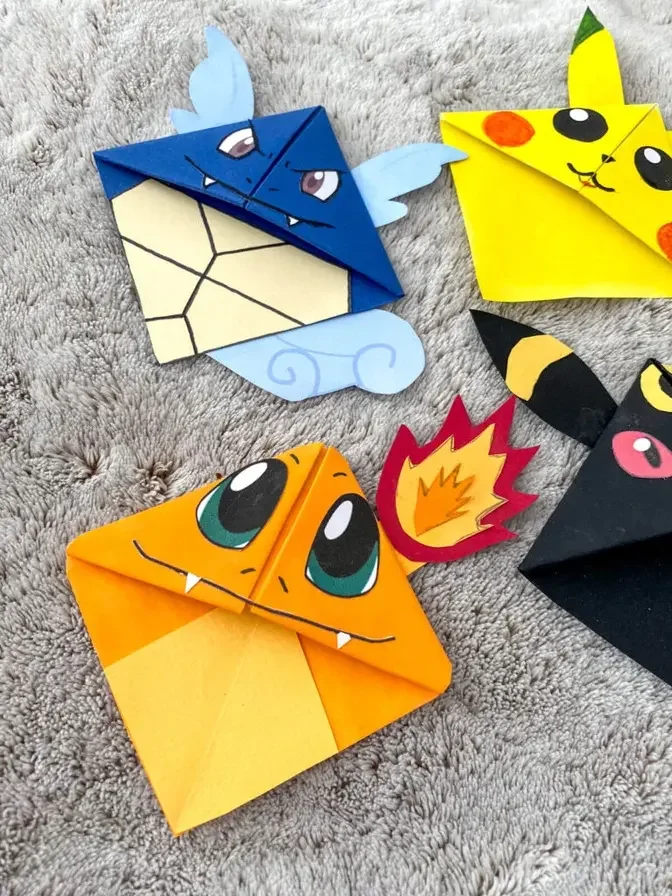
17 Video Views·Feb 20, 2023
DIY Pokemon Cake - for BEGINNERS - Pokemon Pinata Cake - How to Make a DIY Pokeball Cake
Comments are disabled for this video.
Today we have a surprise Pokemon cake that I made for my son's 9th birthday.
So come on, let's take a look and see how it's made.
Make your favourite cake mixture times two and cook it in four pans.
Get your Pokemon figures, then get a big cookie cutter and make holes into three of your four
cakes. Once you have the holes, get some jam and start spreading and sticking your three layers
together. You can use cream, of course, as well, but my son likes jam. Then fill it with your
Pokemon. Now add jam to your final layer and put on your lid. You will now need to put jam all
around the outside of your cake and down the sides. Like I said, normally you would also add
cream, but because my son doesn't like cream, we only put jam on, but you need this for the fondant
to stick. Next, I took some white fondant icing and some red food colouring, good quality, so you
get a nice red and not a pink, and turned half of my white food icing or fondant icing into red
fondant icing. Right, you're ready to roll. Now I used some icing sugar on the surface for it not
to stick and I rolled my icing out. Now in my icing it's a bit too thin, so don't do what I did. Make
it a little bit thicker, maybe half a centimetre, and that should do the trick. Next, I cut a straight
edge along one side and then start to lay my fondant icing. Now the next thing you want to do is you
want to take your straight edge and line it up with the centre of your cake. It's a little bit tricky.
I found putting my icing onto the rolling pin helped me lift it, especially since I cut my
or rolled mine a bit too thin. So once you've got it on your rolling pin, gently place it on half of
your cake. This is the first time I've actually done fondant icing and I want to recommend this
video, How to Cover Cake with Fondant, which I'll link in the iCards and down below. It is a great
video and it really helps you understand how easy it is to lay fondant icing, and it is easy, I
promise. You basically flatten the top and then you work your way around the sides of the cake,
flattening as you go and tugging it out ever so gently, and then trimming off the edge. But please
do watch the other video because it is so so helpful. In the meantime I move on to cut some
white icing, like you can see very quickly that is, rolled it out, made sure of course that my hands
were nice and clean so I didn't turn it into pink icing by accident, and then repeated the process
and created the second white half of the football cake. Note this time I probably made the icing
twice as thick as the first time around and it was so much easier to lay and fold down the sides.
Remember watch the video that I recommended about how to lay fondant icing because it is so helpful
and I really learned a lot from that. Once you've trimmed the excesses of the white it's time to
soften and roll out your black icing. This time you want a long thin strip. To be honest I found
rolling a long thin strip quite difficult, it kind of kept wanting to go wide but that's okay.
I wet the cake with some water so that it sticks and cut maybe a two centimeter, is it one inch and
a half, wide strip of black fondant icing and placed it over the top and then carefully cut
off the excess to get my black band. Next you roll out a little bit more of the black icing
and use a glass or a large cookie cutter to cut out a big black circle. I used a glass. Use a
smoothing down the edges and then again with a bit more water on the back of your black circle
stick down. Finally I repeated the same with a bit of white. Again make sure your fingers are black
or red to get the white dirty. Shape it into a little smooth white disc and again with a bit
of water on the back stick on. And that's literally it, well done. So here we go the cake is finished.
Now this is like I say a beginner's, beginner's effort at using fondant icing and you'll see
in a minute my mistakes. Look at that, it's dreadful isn't it? That's because I made my
fondant too thin by the looks of it and because of that I then panicked and rushed over this side
but I learned my lesson when I did the white one the second time around, less thin and actually
for beginner I don't think that's too bad. Now remember inside the cake, what's inside the cake?
It's a surprise piñata cake and inside we have caught a lot of little Pokemon, not these ones
obviously because they are outside the cake, beneath it but I am very excited and I think
the surprise will be amazing. Now remember we've got tons more Pokemon DIYs here on Red Ted Art,
check out the playlist, have a good browse, then like, subscribe, comment and of course we'd love
to see you again soon. In the meantime enjoy the cake, happy birthday to my son and see you
here again soon, bye!