
Easy Jigglypuff DIY - Pokemon Bookmark - Origami Inspired - Pokemon Go
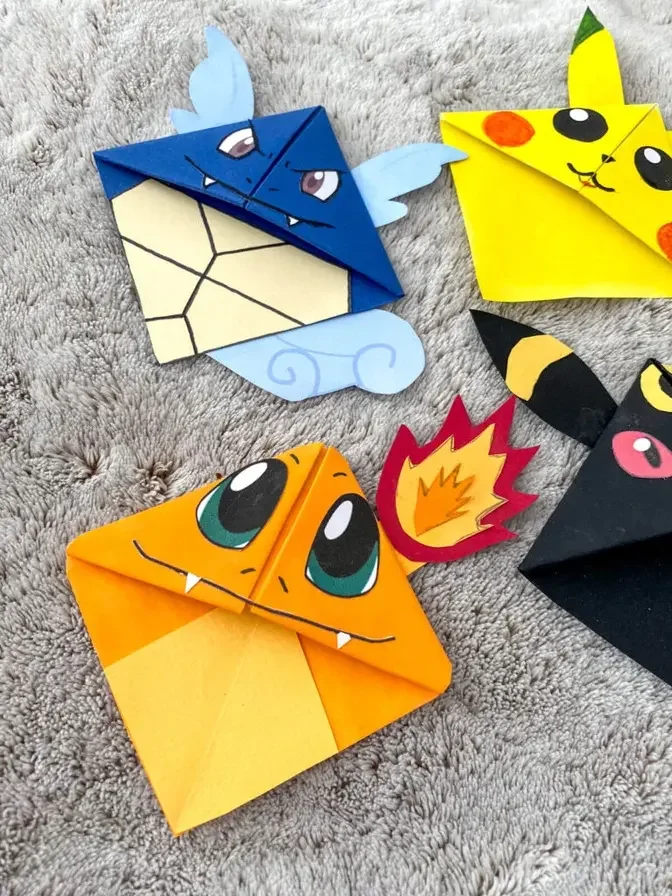
23 Video Views·Feb 21, 2023
Easy Jigglypuff DIY - Pokemon Bookmark - Origami Inspired - Pokemon Go
Comments are disabled for this video.
Hello, hello. Welcome back to Red Ted Art. Look who we have for you today. It's Jigglypuff from
Pokemon, part of our special seven day Pokemon bookmark corner series, which is in addition to
our ordinary crafts on a Monday and Thursday. So if you're not so keen on Pokemon, skip on
over to the normal crafts. If you love Pokemon, keep watching. Okay, so to make Jigglypuff,
you will need a piece of pink paper, a little bit of white, some coloured pens,
prick stick, scissors, and I also used a 10p coin to measure out the eyes. Now, this is an A5 sheet
of paper cut in half, sorry, A4 cut in half to create A5. If you have a square piece of paper,
great. But to be honest, we need the extra little bit for the details of Jigglypuff.
That's your funny little character, isn't she? Now fold it over to the corner. As with all our
corner bookmarks, I'm showing you all the steps so that when you watch the video, you don't have
to click through between videos and see other steps. Some of you will be familiar with this
already. Some of you won't. So bring this corner up, bring this corner up and make some nice,
neat creases. Open it up, bring one fold down, nice crease, bring this over and tuck it in.
My fingers are starting to look like my table, lots of little marks on them.
Bring this one over, sign of a crafter, eh? And tuck it in. There we go. Now, this Jigglypuff is,
I forgot to say, we need a glass. This Jigglypuff is made in the same way as our very well-known
emoji bookmark corners. Now I'll link these if you want to see these specifically,
because we want to have a round, a bookmark. So what you need to do is you need to get a glass
that fits just over the edges, because you don't actually want to cut around, cut a whole circle,
otherwise it's going to fall apart. What you're going to cut is, is leaving straight lines here
and here. It means you don't get a perfectly round circle, but that's okay because this is
where the ears are going to go. And if you do cut too much off, it is going to fall apart.
So be sure to cut just within that circle. It's okay to have perfectly round at the bottom,
but not at the top. You also need to glue it down. So some of the other ones you don't have
to do any gluing, but with this one we do glue it just to give it that extra stability.
So cut out your circle. Like I said, the bottom is going to be a full circle,
and then here you need to keep these edges. It's not perfectly round, but almost round.
I'm going to just open this up and glue it down just to give it, like I say, extra stability.
There we go. That's one side, same on this side, and we have your basic jigglypuff shape. Great.
Now for jigglypuff, you will now need two little medium-sized ears. I'm going to cut those out,
kind of making them up as I go along. I'm not really sure what size to make them. Let's see.
Always make them a little bit bigger because you can cut them down, but also because you will need
a bit of surface, you know, to glue it on the back. I think those work quite well actually.
That's quite good, isn't it? So I've got my ears. Now I'm going to colour the inside of the ear
purple. I'm not sure if it is purple. To me it looks purple. This I find the hardest bit of
jigglypuff. I'm going to make that quiff, and I do find it a little bit tricky, but that's okay.
It wouldn't be a challenge otherwise, would it? So it's like a big sort of circle that comes round
and then tucks in like that. I think that might be a little bit too big.
I'm going to cut it out and have a look, and as always, trim it down if need be.
And then use a black pen to make some extra outlines.
It's a bit big.
I like that. Get a piece of paper because my pens sometimes mark through,
and then create that cartoon effect.
Yay, I like that. Nice, nice, nice.
Black outline here.
I went over the edge on purpose there just to give it that kind of folded ear shape.
It's all coming together, isn't it? Here we go. So jigglepuff.
Now we're going to need some little feet.
Kind of just cutting out an oval here that we can then glue on.
I don't think they have to be too exact.
The other hand I think I'm going to draw on.
Okay, now we need the eyes.
Now I think the 10p is a little bit too big,
so I'm just going to cut on the inside of this circle to make it a bit smaller.
What do you think? Good eyes? Let's position it all.
That's okay. Now do the black outlines and the white outlines.
You could use a 5p coin to do the center circle.
I'm going to try it freehand, fingers crossed,
and I've decided to go for like this turquoise-y color to color in her eyes.
Let's make a circle here for the reflection.
I'm always so pleased with my crafts. It's good to enjoy what you make, isn't it?
Right, I'm going to glue it all together now because I just want to add a little
mouth with a pen and a second hand also with a pen,
and for that I need to have it all in place so it doesn't kind of, well, you know,
shift and I draw it in the wrong place.
Little mouth, and then I'll put the other hand here.
Now I'm doing them in pencil first just to make sure I'm happy with them,
and then I can go over with the black pen.
I think I need the mouth a little bit smaller.
I'll rub out bits I don't like.
You could also just do a smile. She doesn't have to have an open mouth.
Then carefully rub that out, and there we go.
Jigglypuff, what do you think?
There we go. Let's see if we can get her.
It's a bit blue, the light today, by the looks of it, but isn't she adorable?
Thumbs up, comment down below, subscribe to the channel.
This is part of a special series.
Check out the other videos and obviously check out the rest of the channel too
for more everyday-to-day crafts.
Anyway, see you here again soon. Bye!